AI prompts
base on LangStream. Event-Driven Developer Platform for Building and Running LLM AI Apps. Powered by Kubernetes and Kafka. # LangStream
<div class="column" align="middle">
<img src="https://avatars.githubusercontent.com/u/142052382?s=200&v=4" alt="banner">
</div>
<div class="column" align="middle">
<img src="https://img.shields.io/github/license/LangStream/langstream" alt="license"/>
<img alt="GitHub release (with filter)" src="https://img.shields.io/github/v/release/LangStream/langstream">
<a href="https://join.slack.com/t/langstream/shared_invite/zt-21leloc9c-lNaGLdiecHuWU5N31L2AeQ"><img src="https://img.shields.io/badge/Join-Slack-blue?logo=slack&logoColor=white&style=flat-square"></a>
</div>
Check out our [website](https://langstream.ai).
Have a question? Join our community on [Slack](https://join.slack.com/t/langstream/shared_invite/zt-21leloc9c-lNaGLdiecHuWU5N31L2AeQ) or [Linen](https://www.linen.dev/invite/langstream)!
For the complete documentation, go [here](https://docs.langstream.ai).
Get the LangStream VS Code extension [here](https://marketplace.visualstudio.com/items?itemName=DataStax.langstream).
## Contents
* [LangStream](#langstream)
* [CLI](#cli)
* [Try the sample application](#try-the-sample-application)
* [Create your own application](#create)
* [Run LangStream on Kubernetes](#run-langstream-on-kubernetes)
* [Production-ready deployment](#production-ready-deployment)
* [Local deployment](#local-deployment)
* [Development](#development)
## CLI
> **Warning**
> CLI requires Java 11+ to be already installed on your machine.
### Installation
There are multiple ways to install the CLI.
- MacOS:
- Homebrew
```
brew install LangStream/langstream/langstream
```
- Binary with curl
```
curl -Ls "https://raw.githubusercontent.com/LangStream/langstream/main/bin/get-cli.sh" | bash
```
- Unix:
- Binary with curl
```
curl -Ls "https://raw.githubusercontent.com/LangStream/langstream/main/bin/get-cli.sh" | bash
```
Verify the binary is available:
```
langstream -V
```
Refer to the [CLI documentation](https://docs.langstream.ai/installation/langstream-cli) to learn more.
## Try the sample application
Run the sample Chat Completions application on-the-fly:
```bash
export OPEN_AI_ACCESS_KEY=your-key-here
langstream docker run test \
-app https://github.com/LangStream/langstream/blob/main/examples/applications/openai-completions \
-s https://github.com/LangStream/langstream/blob/main/examples/secrets/secrets.yaml
```
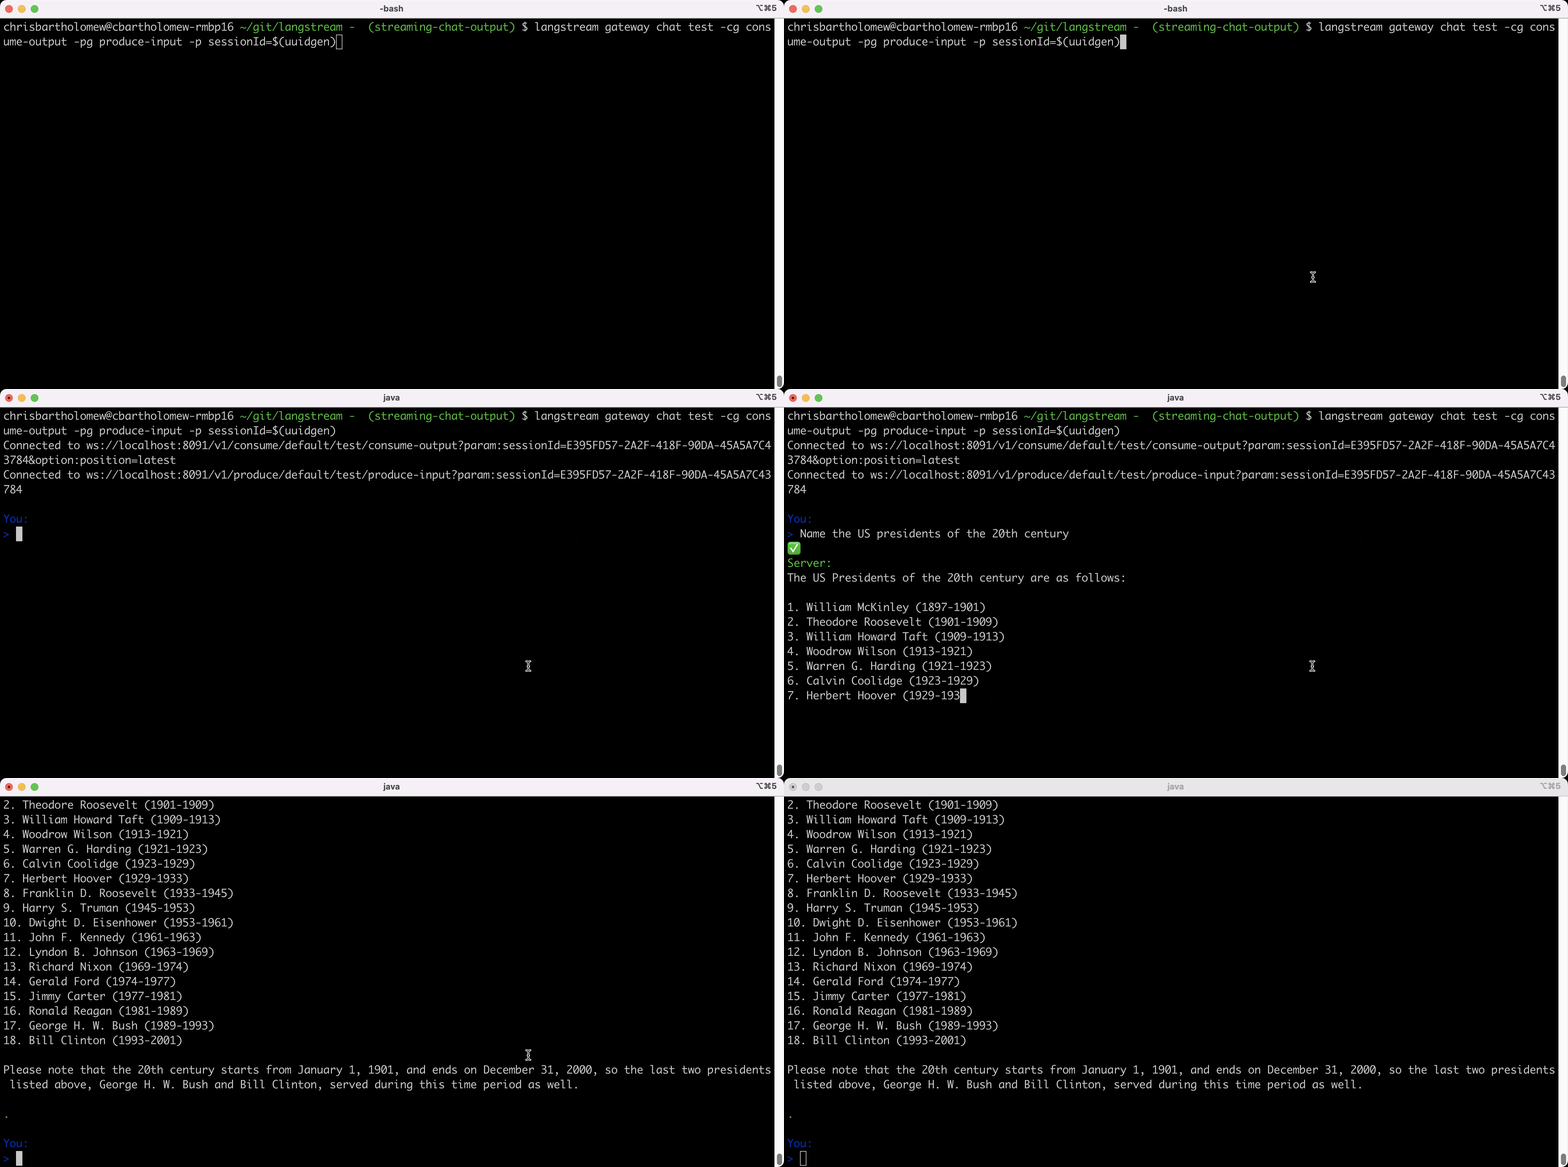
In a different terminal window:
```bash
langstream gateway chat test -cg consume-output -pg produce-input -p sessionId=$(uuidgen)
```

See more sample applications in the [examples](https://github.com/LangStream/langstream/blob/main/examples/applications) folder.
## Create your own application
To create your own application, refer to the [developer documentation](https://docs.langstream.ai/building-applications/development-environment).
## Run LangStream on Kubernetes
LangStream is production-ready, and it's highly suggested deploying it on a Kubernetes cluster.
The following Kubernetes distributions are supported:
* Amazon EKS
* Azure AKS
* Google GKE
* Minikube
To run a LangStream cluster, you need to the following *external* components:
- Apache Kafka or Apache Pulsar cluster
- S3 API-compatible storage or Azure Blob Storage (Amazon S3, Google Cloud Storage, Azure Blob Storage, MinIO)
### Production-ready deployment
To install LangStream, you can use the `langstream` Helm chart:
```
helm repo add langstream https://langstream.ai/charts
helm repo update
```
Then create the values file. At this point you already need the storage service to be up and running.
In case you're using S3, you can use the following values:
```yaml
codeStorage:
type: s3
configuration:
access-key: <aws-access-key>
secret-key: <aws-secret-key>
```
For Azure:
```yaml
codeStorage:
type: azure
configuration:
endpoint: https://<storage-account>.blob.core.windows.net
container: langstream
storage-account-name: <storage-account>
storage-account-key: <storage-account-key>
```
Now install LangStream with it:
```
helm install -n langstream --create-namespace langstream langstream/langstream --values values.yaml
kubectl wait -n langstream deployment/langstream-control-plane --for condition=available --timeout=300s
```
### Local deployment
To create a local LangStream cluster, it's recommended to use [minikube](https://minikube.sigs.k8s.io/docs/start/).
`mini-langstream` comes in help for installing and managing your local cluster.
To install `mini-langstream`:
- MacOS:
```bash
brew install LangStream/langstream/mini-langstream
```
- Unix:
```bash
curl -Ls "https://raw.githubusercontent.com/LangStream/langstream/main/mini-langstream/get-mini-langstream.sh" | bash
```
Then startup the cluster:
```bash
mini-langstream start
```
Deploy an application:
```bash
export OPEN_AI_ACCESS_KEY=<your-openai-api-key>
mini-langstream cli apps deploy my-app -app https://github.com/LangStream/langstream/tree/main/examples/applications/openai-completions -s https://github.com/LangStream/langstream/blob/main/examples/secrets/secrets.yaml
```
To stop the cluster:
```bash
mini-langstream delete
```
Refer to the [mini-langstream documentation](https://docs.langstream.ai/installation/get-started-minikube) to learn more.
## Development
Requirements for building the project:
* Docker
* Java 17
* Git
* Python 3.11+ and PIP
If you want to test local code changes, you can use `mini-langstream`.
```bash
mini-langstream dev start
```
This command will build the images in the `minikube` context and install all the LangStream services with the snapshot image.
Once the cluster is running, if you want to build abd load a new version of a specific service you can run:
```bash
mini-langstream dev build <service>
```
or for all the services
```bash
mini-langstream dev build
```
", Assign "at most 3 tags" to the expected json: {"id":"3062","tags":[]} "only from the tags list I provide: [{"id":77,"name":"3d"},{"id":89,"name":"agent"},{"id":17,"name":"ai"},{"id":54,"name":"algorithm"},{"id":24,"name":"api"},{"id":44,"name":"authentication"},{"id":3,"name":"aws"},{"id":27,"name":"backend"},{"id":60,"name":"benchmark"},{"id":72,"name":"best-practices"},{"id":39,"name":"bitcoin"},{"id":37,"name":"blockchain"},{"id":1,"name":"blog"},{"id":45,"name":"bundler"},{"id":58,"name":"cache"},{"id":21,"name":"chat"},{"id":49,"name":"cicd"},{"id":4,"name":"cli"},{"id":64,"name":"cloud-native"},{"id":48,"name":"cms"},{"id":61,"name":"compiler"},{"id":68,"name":"containerization"},{"id":92,"name":"crm"},{"id":34,"name":"data"},{"id":47,"name":"database"},{"id":8,"name":"declarative-gui "},{"id":9,"name":"deploy-tool"},{"id":53,"name":"desktop-app"},{"id":6,"name":"dev-exp-lib"},{"id":59,"name":"dev-tool"},{"id":13,"name":"ecommerce"},{"id":26,"name":"editor"},{"id":66,"name":"emulator"},{"id":62,"name":"filesystem"},{"id":80,"name":"finance"},{"id":15,"name":"firmware"},{"id":73,"name":"for-fun"},{"id":2,"name":"framework"},{"id":11,"name":"frontend"},{"id":22,"name":"game"},{"id":81,"name":"game-engine "},{"id":23,"name":"graphql"},{"id":84,"name":"gui"},{"id":91,"name":"http"},{"id":5,"name":"http-client"},{"id":51,"name":"iac"},{"id":30,"name":"ide"},{"id":78,"name":"iot"},{"id":40,"name":"json"},{"id":83,"name":"julian"},{"id":38,"name":"k8s"},{"id":31,"name":"language"},{"id":10,"name":"learning-resource"},{"id":33,"name":"lib"},{"id":41,"name":"linter"},{"id":28,"name":"lms"},{"id":16,"name":"logging"},{"id":76,"name":"low-code"},{"id":90,"name":"message-queue"},{"id":42,"name":"mobile-app"},{"id":18,"name":"monitoring"},{"id":36,"name":"networking"},{"id":7,"name":"node-version"},{"id":55,"name":"nosql"},{"id":57,"name":"observability"},{"id":46,"name":"orm"},{"id":52,"name":"os"},{"id":14,"name":"parser"},{"id":74,"name":"react"},{"id":82,"name":"real-time"},{"id":56,"name":"robot"},{"id":65,"name":"runtime"},{"id":32,"name":"sdk"},{"id":71,"name":"search"},{"id":63,"name":"secrets"},{"id":25,"name":"security"},{"id":85,"name":"server"},{"id":86,"name":"serverless"},{"id":70,"name":"storage"},{"id":75,"name":"system-design"},{"id":79,"name":"terminal"},{"id":29,"name":"testing"},{"id":12,"name":"ui"},{"id":50,"name":"ux"},{"id":88,"name":"video"},{"id":20,"name":"web-app"},{"id":35,"name":"web-server"},{"id":43,"name":"webassembly"},{"id":69,"name":"workflow"},{"id":87,"name":"yaml"}]" returns me the "expected json"