AI prompts
base on An open source quadruped robot pet framework for developing Boston Dynamics-style four-legged robots that are perfect for STEM, coding & robotics education, IoT robotics applications, AI-enhanced robotics application services, research, and DIY robotics kit development. # OpenCat
OpenCat is the open-source Arduino and Raspberry Pi-based quadruped robotic pet framework developed by Petoi, the maker of futuristic programmable robotic pets.
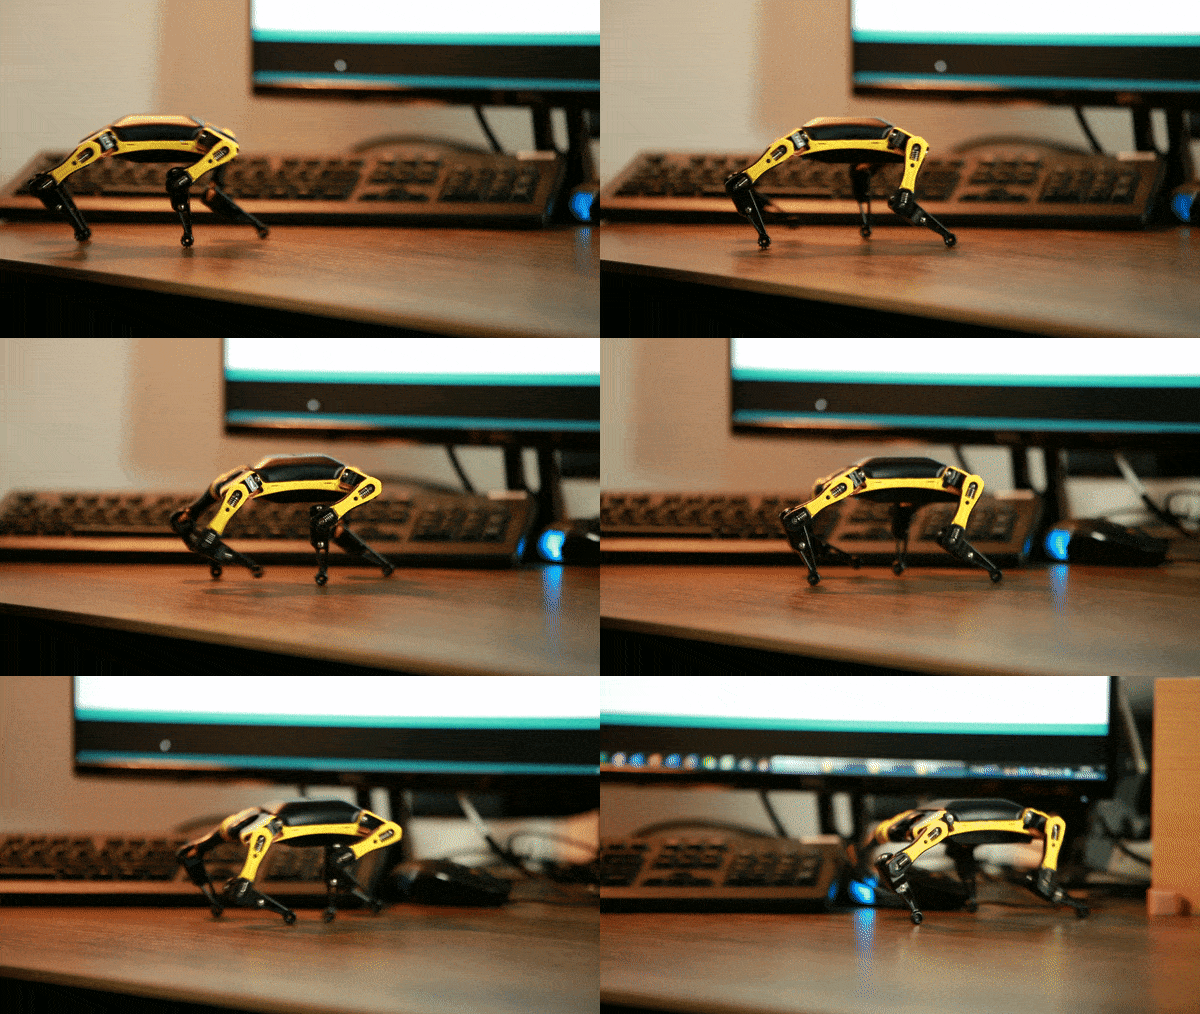
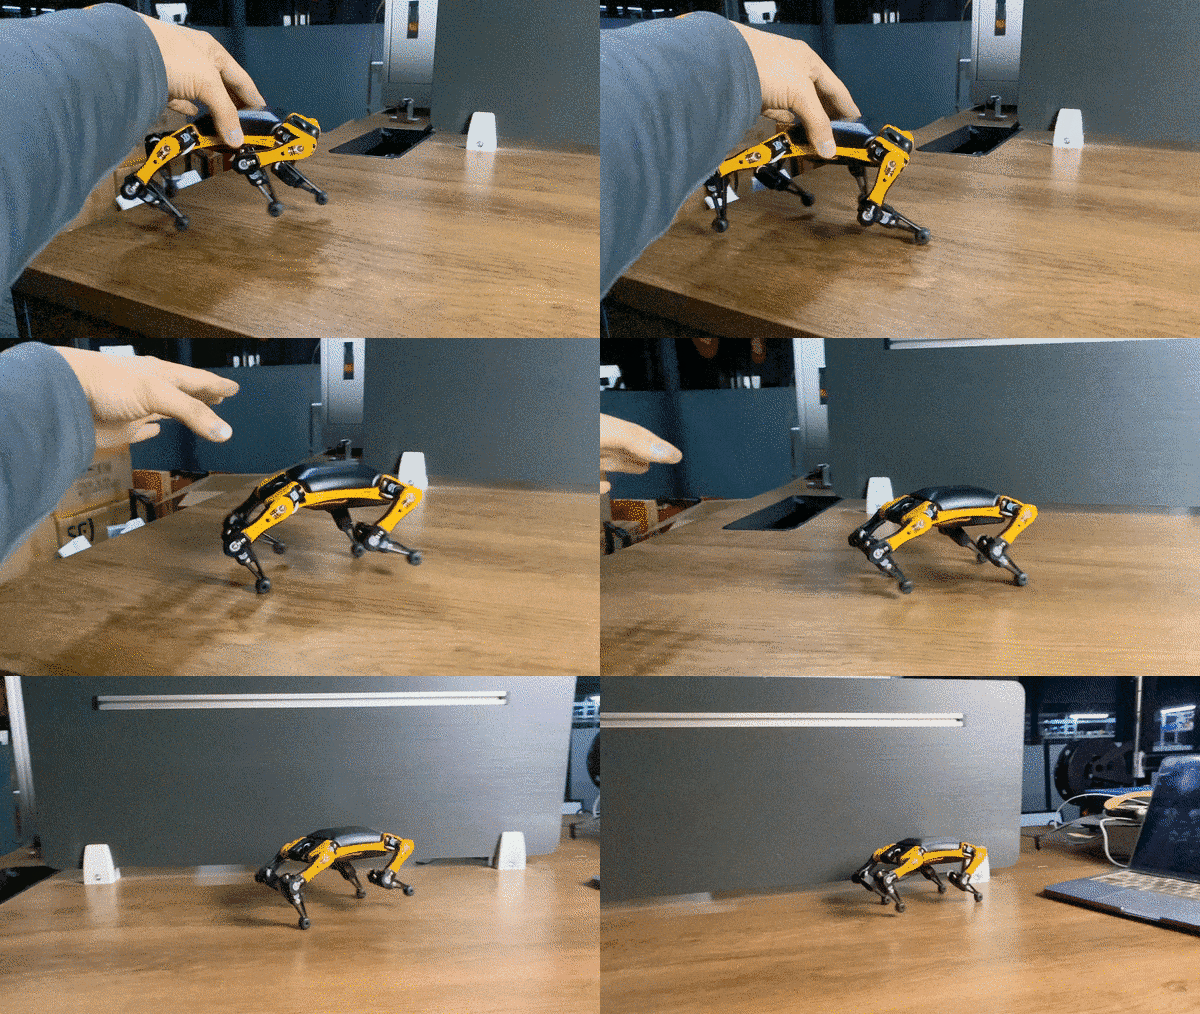
Inspired by Boston Dynamics' Big Dog and Spot Mini, Dr. Rongzhong Li started the project in his dorm at Wake Forest University in 2016. After one year of R&D, he founded Petoi LLC and devoted all his resources to developing open source robots.
The goal is to foster collaboration in quadruped(four-legged) robotic research, education, and engineering development of agile and affordable quadruped robot pets, bring STEM concepts to the mass, and inspire newcomers (including many kids and adults) to join the robotic AI revolution to create more applications.
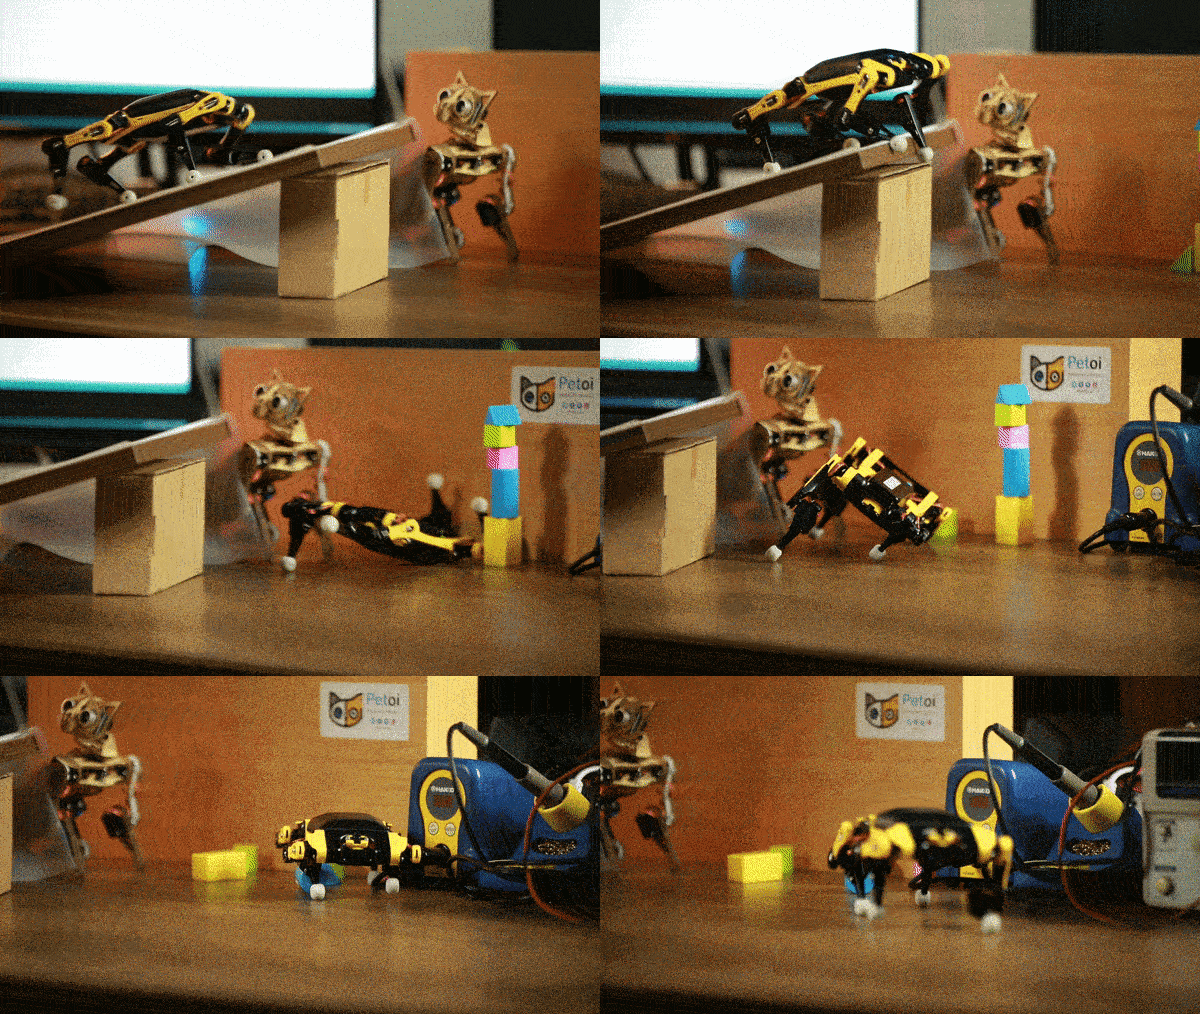
The project is [a complex quadruped robot system](https://www.petoi.com/pages/petoi-programmable-quadruped-robot-system) for anyone exploring quadruped robotics. We want to share our design and work with the community and bring down the hardware and software costs with mass production. OpenCat has been deployed on all Petoi's bionic palm-sized, realistic lifelike [cute robot cat Nybble](https://www.petoi.com/collections/robots/products/petoi-nybble-robot-cat?utm_source=github&utm_medium=code&utm_campaign=nybble) and
[high-performance robot dog Bittle](https://www.petoi.com/collections/robots/products/petoi-bittle-robot-dog?utm_source=github&utm_medium=code&utm_campaign=bittle). We now have established a production line and can ship these [affordable robotic kits and accessories](https://www.petoi.com/store?utm_source=github&utm_medium=code&utm_campaign=store) worldwide.
This project provides a base open source platform to create amazing programmable gaits, locomotion, and deployment of inverse kinematics quadruped robots and bring simulations to the real world via block-based coding/C/C++/Python programming languages.
Our users have deployed many robotics/AI/IoT applications:
- [robot dog with autonomous movement & object detection](https://www.petoi.com/blogs/blog/reid-graves-robotics-ai-applications-with-bittle-robot-dog-raspberry-pi)
- [Raspberry Pi robotics projects](https://www.petoi.com/blogs/blog/raspberry-pi-robotics-projects-with-petoi-open-source-quadruped-robots)
- [NVIDIA Issac simulations and reinforcement learning on our robots](https://www.youtube.com/playlist?list=PLHMFXft_rV6MWNGyofDzRhpatxZuUZMdg)
- [developed visual and lidar-based SLAM with ROS using Bittle and Raspberry Pi](https://www.youtube.com/watch?v=uXpQUIF_Jyk&list=PLHMFXft_rV6MWNGyofDzRhpatxZuUZMdg&index=6)
- [imitation learning using Tiny Machine Learning Models with Petoi Bittle and Raspberry Pi](https://www.learnwitharobot.com/p/imitation-learning-with-petoi-bittle)
- [IoT automation of a robot fleet with AWS to improve worker safety](https://www.petoi.com/blogs/blog/aws-iot-robot-fleet-demo-with-petoi-bittle)
- [3D-Printed Accessories](https://www.petoi.com/blogs/blog/petoi-bittle-bittle-x-robots-3d-printed-robot-accessories)
- build their own [DIY 3D-print robot pets](https://www.petoi.com/pages/3d-printed-robot-dog-robot-cat) powered by OpenCat
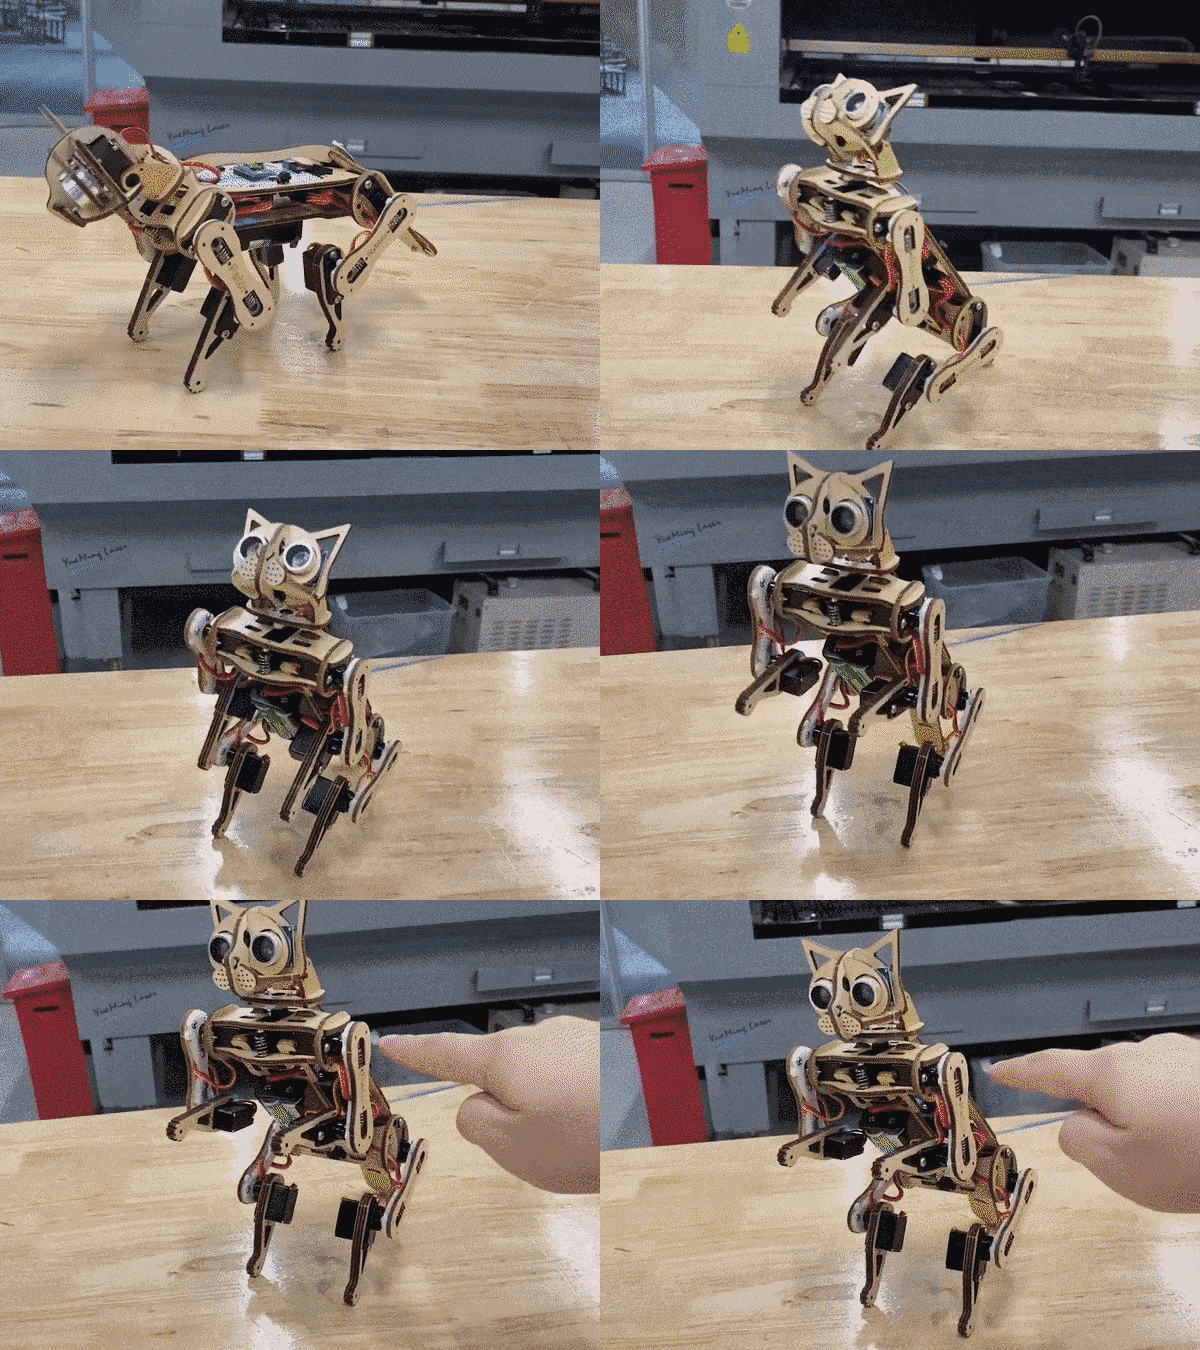
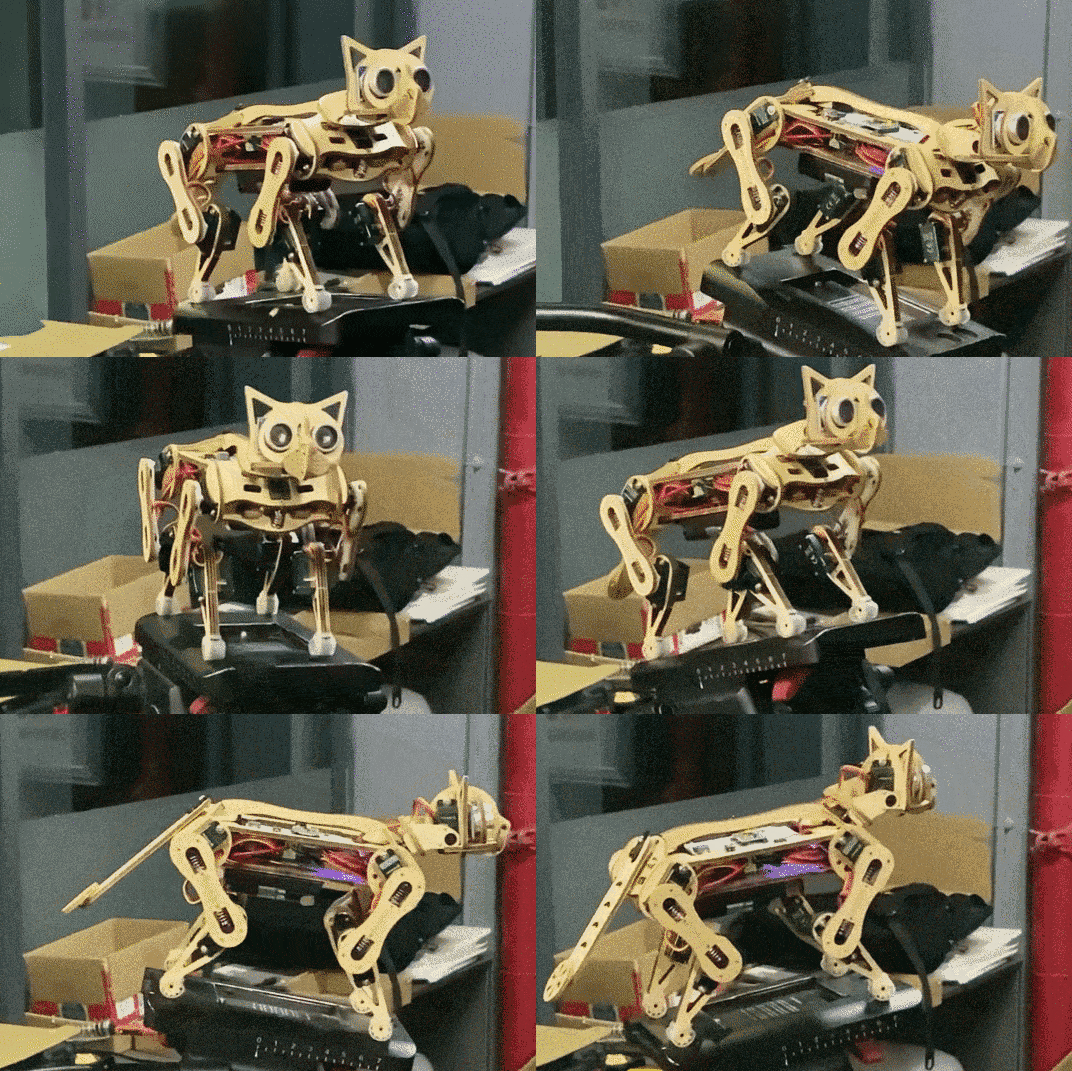
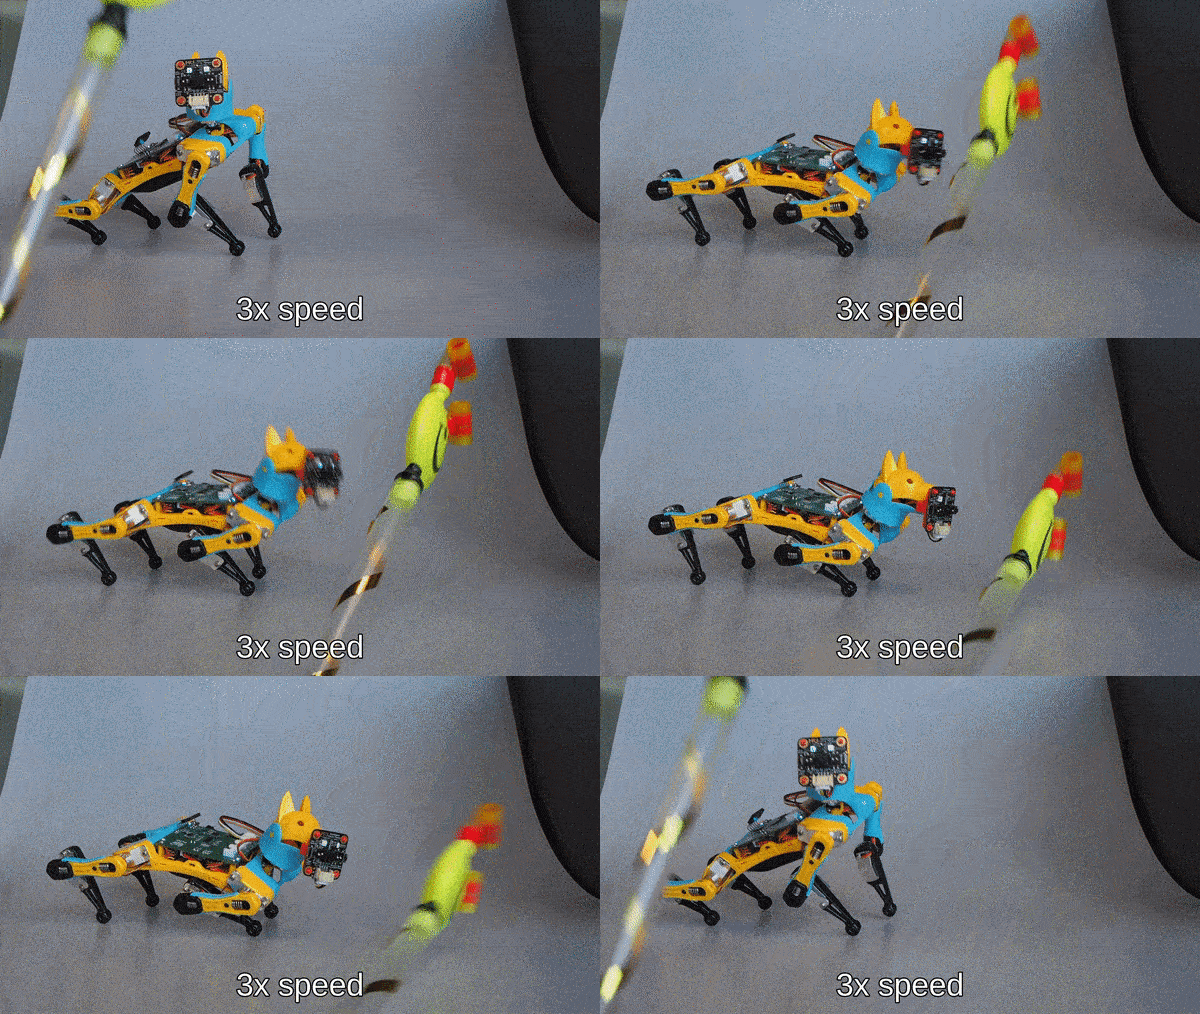
We've successfully crowdfunded these two mini robot kits and shipped thousands of units worldwide.
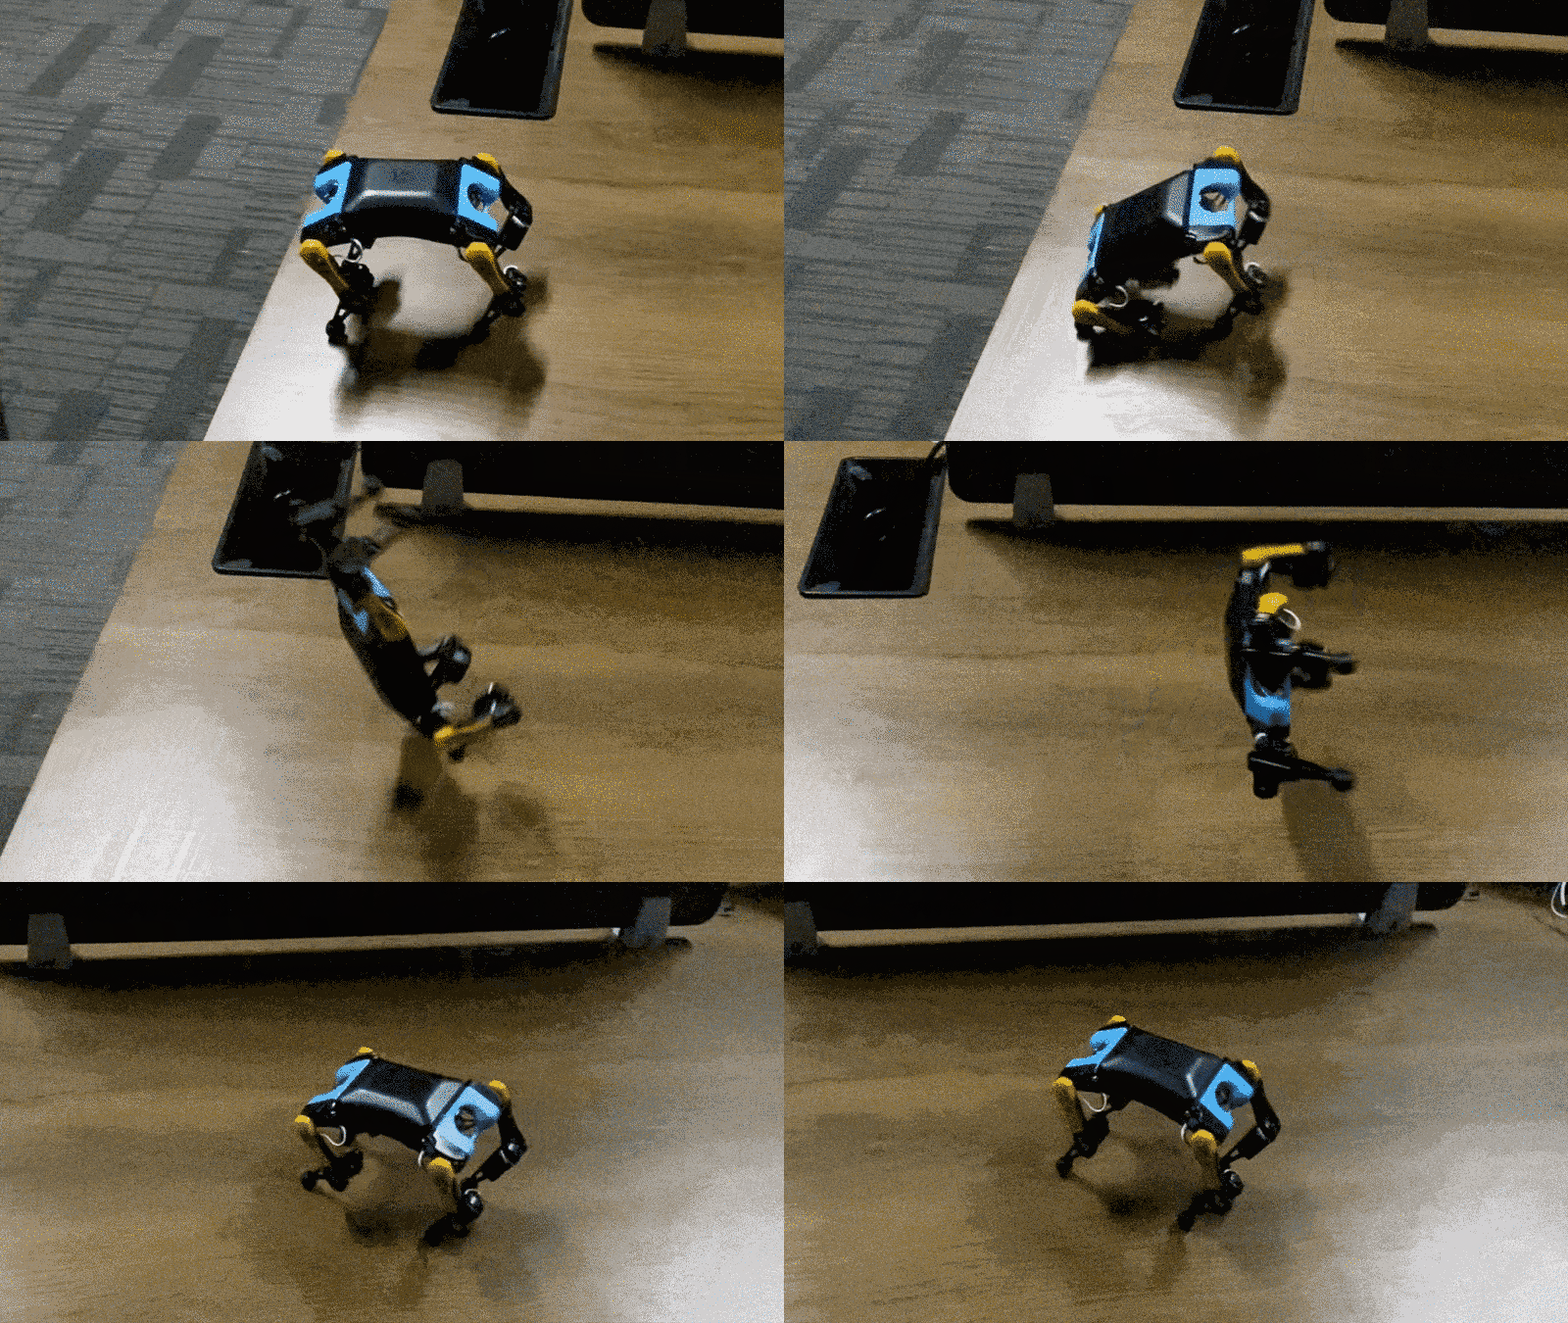
With our [customized Arduino-Uno board](https://www.petoi.com/products/nyboard-customized-arduino-board) and [high-performance servos](https://www.petoi.com/products/quadruped-robot-dog-bittle-servo-set) coordinating all instinctive and sophisticated movements(walking, running, jumping, backflipping), one can clip on [various sensors](https://www.petoi.com/products/petoi-sensor-pack) and [camera](https://www.petoi.com/products/intelligent-camera-module) to bring in perception and inject artificial intelligence capabilities by mounting a Raspberry Pi or other AI chips(such as Nvidia Jetson Nano) through wired/wireless connections.
Please see [Petoi FAQs](https://www.petoi.com/pages/faq?utm_source=github&utm_medium=code&utm_campaign=faq) for more info.
Also, Check out [all of the OpenCat and Petoi robot user showcases](https://www.petoi.camp/forum/showcase).
## Setup Process:
OpenCat software works on both Nybble and Bittle, controlled by NyBoard based on ATmega328P. More detailed documentation can be found at the [Petoi Doc Center](https://docs.petoi.com).
To configure the board:
1. Download the repo and unfold. Remove the **-main** (or any branch name) suffix of the folder.
2. Open the file OpenCat.ino, select your robot and board version.
```cpp
#define BITTLE //Petoi 9 DOF robot dog: 1x on head + 8x on leg
//#define NYBBLE //Petoi 11 DOF robot cat: 2x on head + 1x on tail + 8x on leg
//#define NyBoard_V0_1
//#define NyBoard_V0_2
#define NyBoard_V1_0
//#define NyBoard_V1_1
```
3. Comment out ```#define MAIN_SKETCH``` so that it will turn the code to the board configuration mode. Upload and follow the serial prompts to proceed.
```cpp
// #define MAIN_SKETCH
```
4. If you activate ```#define AUTO_INIT```, the program will automatically set up without prompts. It will not reset joint offsets but calibrate the IMU. It's just a convenient option for our production line.
5. Plug the USB uploader to the NyBoard and install the driver if no USB port is found under Arduino -> Tools -> Port.
6. Press the upload button (->) at the top-left corner in Arduino IDE.
7. Open the serial monitor of Arduino IDE. You can find the button either under Tools, or at the top-right corner of the IDE.
Set the serial monitor as **no line ending** and **115200** baud rate.
The serial prompts:
```
Reset joint offsets? (Y/n)
Y
```
Input ‘Y’ and hit enter, if you want to reset all the joint offsets to 0.
The program will do the reset, then update the constants and instinctive skills in the static memory.
8. IMU (Inertial Measurement Unit) calibration.
The serial prompts:
```
Calibrate the IMU? (Y/n):
Y
```
Input ‘Y’ and hit enter, if you have never calibrated the IMU or want to redo calibration.
Put the robot flat on the table and don't touch it. The robot will long beep six times to give you enough time. Then it will read hundreds of sensor data and save the offsets. It will beep when the calibration finishes.
When the serial monitor prints "Ready!", you can close the serial monitor to do the next step.
9. Uncomment ```#define MAIN_SKETCH``` to make it active. This time the code becomes the normal program for the major functionalities. Upload the code.
```cpp
#define MAIN_SKETCH
```
When the serial monitor prints "Ready!", the robot is ready to take your next instructions.
10. If you have never calibrated the joints’ offsets or reset the offsets in Step2, you need to calibrate them. If you boot up the robot with one side up, it will enter the calibration state automatically for you to install the legs. Otherwise, it will enter the normal rest state
11. You can use the serial monitor to calibrate it directly. Or you may plug in the Bluetooth dongle, and use the Petoi app (on Android/iOS) for a more user-friendly interface. The mobile app is available on:
* IOS: [App Store](https://apps.apple.com/us/app/petoi/id1581548095)
* Android: [Google Play](https://play.google.com/store/apps/details?id=com.petoi.petoiapp)
You can refer to the calibration section in the user manual (https://bittle.petoi.com/6-calibration) and Guide for the Petoi App(https://docs.petoi.com/app-guide).
12. you can use the infrared remote or other applications (such as the Petoi App, Python, serial monitor ... etc.) to play with the robot (https://bittle.petoi.com/7-play-with-bittle).
For updates:
* star this repository to receive timely notifications on changes.
* visit www.petoi.com and [subscribe to our official newsletters](https://www.petoi.com/pages/subscribe-petoi-newsletter) for project announcements. We also host a forum at [petoi.camp](https://www.petoi.com/forum).
* follow us on [Twitter](https://twitter.com/petoicamp), [Instagram](https://www.instagram.com/petoicamp/), [Facebook](https://www.facebook.com/PetoiCamp/), [Linkedin](https://www.linkedin.com/company/33449768/admin/dashboard/), and [YouTube channel](https://www.youtube.com/c/rongzhongli) for fun videos and community activities.
## Resources:
* [Advanced tutorials made by users](https://www.youtube.com/playlist?list=PLHMFXft_rV6MWNGyofDzRhpatxZuUZMdg)
* [Review, open-box, and demos by users](https://www.youtube.com/playlist?list=PLHMFXft_rV6PSS3Qu5yQ-0iPW-ohu1sM3)
* [OpenCat robot showcase by users](https://www.petoi.com/pages/petoi-open-source-extensions-user-demos-and-hacks)
* [OpenCat robot gallery](https://www.petoi.com/pages/robot-pet-gallery)
OpenCat robots have been used in robotics education for K12 schools and colleges to teach students about STEM, coding, and robotics:
- [robotics education showcases](https://www.petoi.com/blogs/blog/tagged/showcase+education)
- [STEM & Robotics Curriculum & Resources for Teaching Coding & Robotics](https://www.petoi.com/pages/resources-curriculum-stem-coding-robot)
- [Robotics competitions](https://www.petoi.com/blogs/blog/robot-competitions-with-petoi)
- [Petoi robotics contest](https://www.petoi.com/blogs/blog/petoi-spring-2024-robotics-contest-winners)
The [old repository for OpenCat](https://github.com/PetoiCamp/OpenCat-Old) is too redundant with large image logs and is obsolete with no further updates.
", Assign "at most 3 tags" to the expected json: {"id":"8791","tags":[]} "only from the tags list I provide: [{"id":77,"name":"3d"},{"id":89,"name":"agent"},{"id":17,"name":"ai"},{"id":54,"name":"algorithm"},{"id":24,"name":"api"},{"id":44,"name":"authentication"},{"id":3,"name":"aws"},{"id":27,"name":"backend"},{"id":60,"name":"benchmark"},{"id":72,"name":"best-practices"},{"id":39,"name":"bitcoin"},{"id":37,"name":"blockchain"},{"id":1,"name":"blog"},{"id":45,"name":"bundler"},{"id":58,"name":"cache"},{"id":21,"name":"chat"},{"id":49,"name":"cicd"},{"id":4,"name":"cli"},{"id":64,"name":"cloud-native"},{"id":48,"name":"cms"},{"id":61,"name":"compiler"},{"id":68,"name":"containerization"},{"id":92,"name":"crm"},{"id":34,"name":"data"},{"id":47,"name":"database"},{"id":8,"name":"declarative-gui "},{"id":9,"name":"deploy-tool"},{"id":53,"name":"desktop-app"},{"id":6,"name":"dev-exp-lib"},{"id":59,"name":"dev-tool"},{"id":13,"name":"ecommerce"},{"id":26,"name":"editor"},{"id":66,"name":"emulator"},{"id":62,"name":"filesystem"},{"id":80,"name":"finance"},{"id":15,"name":"firmware"},{"id":73,"name":"for-fun"},{"id":2,"name":"framework"},{"id":11,"name":"frontend"},{"id":22,"name":"game"},{"id":81,"name":"game-engine "},{"id":23,"name":"graphql"},{"id":84,"name":"gui"},{"id":91,"name":"http"},{"id":5,"name":"http-client"},{"id":51,"name":"iac"},{"id":30,"name":"ide"},{"id":78,"name":"iot"},{"id":40,"name":"json"},{"id":83,"name":"julian"},{"id":38,"name":"k8s"},{"id":31,"name":"language"},{"id":10,"name":"learning-resource"},{"id":33,"name":"lib"},{"id":41,"name":"linter"},{"id":28,"name":"lms"},{"id":16,"name":"logging"},{"id":76,"name":"low-code"},{"id":90,"name":"message-queue"},{"id":42,"name":"mobile-app"},{"id":18,"name":"monitoring"},{"id":36,"name":"networking"},{"id":7,"name":"node-version"},{"id":55,"name":"nosql"},{"id":57,"name":"observability"},{"id":46,"name":"orm"},{"id":52,"name":"os"},{"id":14,"name":"parser"},{"id":74,"name":"react"},{"id":82,"name":"real-time"},{"id":56,"name":"robot"},{"id":65,"name":"runtime"},{"id":32,"name":"sdk"},{"id":71,"name":"search"},{"id":63,"name":"secrets"},{"id":25,"name":"security"},{"id":85,"name":"server"},{"id":86,"name":"serverless"},{"id":70,"name":"storage"},{"id":75,"name":"system-design"},{"id":79,"name":"terminal"},{"id":29,"name":"testing"},{"id":12,"name":"ui"},{"id":50,"name":"ux"},{"id":88,"name":"video"},{"id":20,"name":"web-app"},{"id":35,"name":"web-server"},{"id":43,"name":"webassembly"},{"id":69,"name":"workflow"},{"id":87,"name":"yaml"}]" returns me the "expected json"